As I began gardening, one of the tenets I quickly picked up on is planting in drifts. I believe Gertrude Jekyll popularized the style of planting grand sweeps of a single plant. As a newbie, I found the concept of drifts daunting, both in terms of plant selection and cost. To my credit, I originally envisioned planting my sun bed in drifts, but my plans were
waylaid by stubborn seeds and unrealistic expectations. Instead, my bed is a
colorful mess. Serendipitously, I prefer this look to sweeping drifts of color. It seems to fit the cottage style I aspire to.
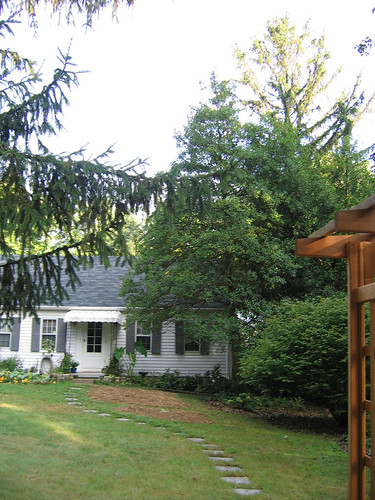
As I plan and plant my shady areas, though, I am firmly committed to drifts. Let’s be honest, a shade garden is not vibrant, exciting, and in your face. It is subtle, peaceful, and relaxing. Planting in drifts gives the eye and mind less to digest. It creates seamless waves and swirls of foliage. In the spring, I hope to achieve subtly winding paths of blue, pink, yellow, and white.
Some contend that drifts look a bit artificial, but I prefer drifts to a naturalistic look. If I wanted naturalism, I would have let the ivy, violets, and henbit hold sway. The drifts may look (wo)man made, but I believe I’ve earned a little credit for my efforts. I would also argue that drifts aren’t wholly unnatural looking. Plants that spread by runners, like ostrich ferns, naturally form small monocultures within a shady area.
Not only are drifts pleasing to the eye, they also make maintenance easier. The water hogs can be watered without unduly soaking the bulbs that prefer a dry summer. Weeds are easily spotted and routed. I’m also less likely to slice into a dormant mertensia with my shovel when they are all clustered together.
Drifts, though, take discipline. I can’t simply load up on one of these and one of those and one of this and one of that. Instead, I try to obtain everything in multiples, whether I am buying, sowing, swapping, or stealing. I must leave large patches of ground open to accommodate future additions. Most of all, planting in drifts requires thought and planning. I have to save my impulse purchases for the cottage borders.
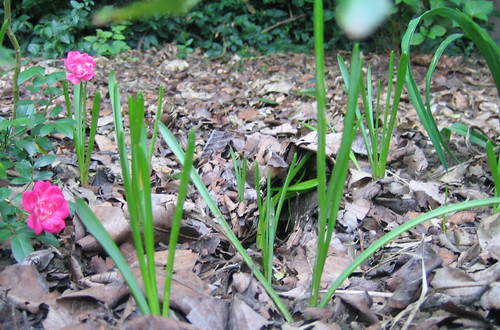
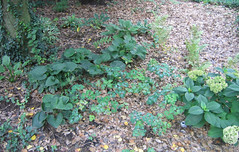
Don’t be fooled into thinking I’ve already accomplished impeccable drifts. I have a single may apple, flanked by a drift of blue cohosh on one side and multiple astilbe on the other. (The may apple cost me $10. There was no way I was buying three!) I had only two pulmonaria in a “drift” until
Maggie swapped me two more. (I’d say three or more plants constitutes a drift.) Wherever the singles appear, I’ve left them room to run or self-seed so that I will eventually have a grouping. The drifts that I do have are a bit
patchy looking as I wait for the plants to fill in.
I’ve already begun to see where drifts can have their downside. The forget-me-not drift I planted in afternoon sun is a large eyesore without consistent moisture. (I had thought their planting spot was a bit shadier than it turned out to be.) If they were tucked in among hosta and ferns, I might not notice their sagging foliage. A drift of mertensia must be co-planted with toad lilies to avoid a large bare spot all summer and fall. I am fearful that the deer or slugs will discover my drifts of hosta and denude an entire planting.

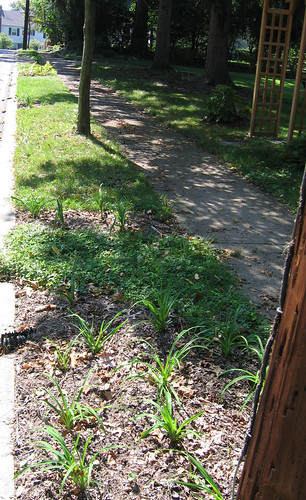
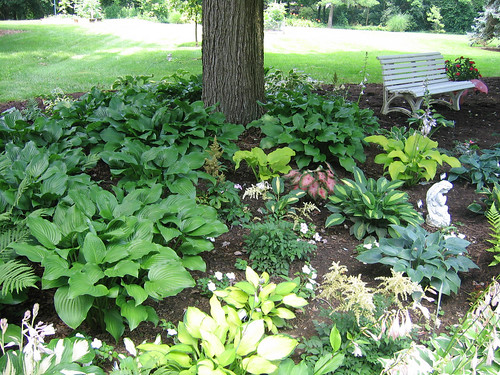
Finally, one can go a bit overboard with drifts. For instance, pictured here is an enormous drift of hosta, comprising almost an entire shade garden. To my eye, it goes beyond restful and into the realm of boring. In a larger shade garden (like
a park), it would be appropriate, but here, it borders on monotonous. I have no firm percentage to offer, but the size of the drift should be somewhat in proportion to the size of the garden. For those who prefer prescriptive rules to the eye’s judgment, perhaps the
golden ratio would be a place to start?
Planting in drifts may appear to be overly regimented to some, but I believe the results are worth it. When I feel an ADD moment coming on I can always go plug random annuals into my sun beds. When I’m ready to calm down again, I take a stroll through my restful, shady border and appreciate the repetitive beauty of columbine foliage en masse.


 Toby
Toby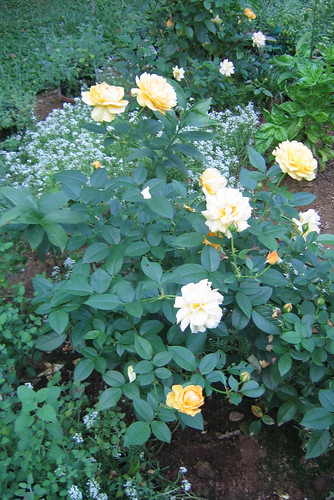


