Monday, June 27, 2005

Neighbor Tim

Oh, neighbor Tim, how do I love thee? Let me count the ways…

1. When we first moved in, you brought us a welcome gift of brown bread you had baked yourself.
2. You let me borrow your tools. Even though I bend and break them.
3. When you see me working in the yard, you offer to help. I feared for your life when you climbed our rickety ladder and one-handedly chain-sawed limbs from our trees, but I appreciated your generous spirit.
4. When I describe my inside renovation projects, you, once again, offer to help.
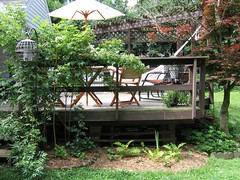
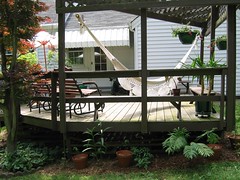
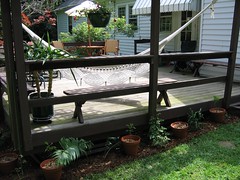
5. You have a wildflower garden in your back yard. You give me tours and name all the unfamiliar plants for me, common name, family, genus, and species.
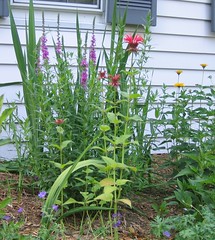
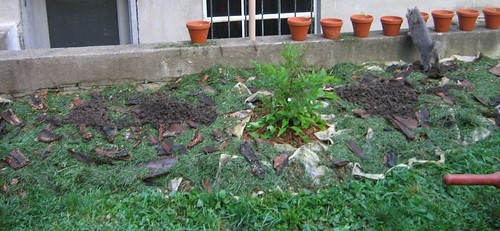
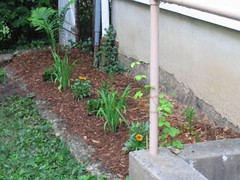
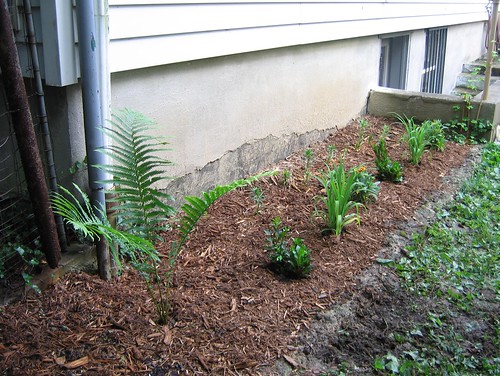
6. Most amazingly of all, you offer me wildflowers from your collection. You hand me a shovel, point out the gifted plants, and let me go to town. My yard loves you too.
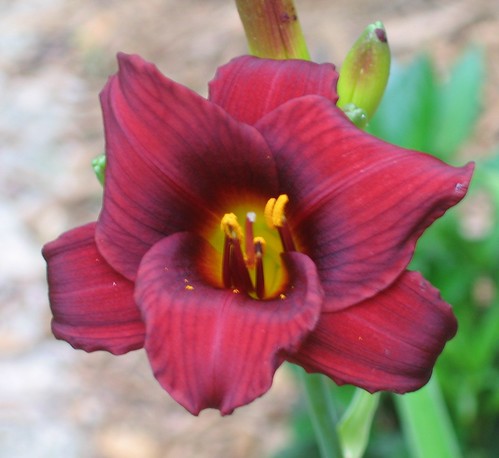
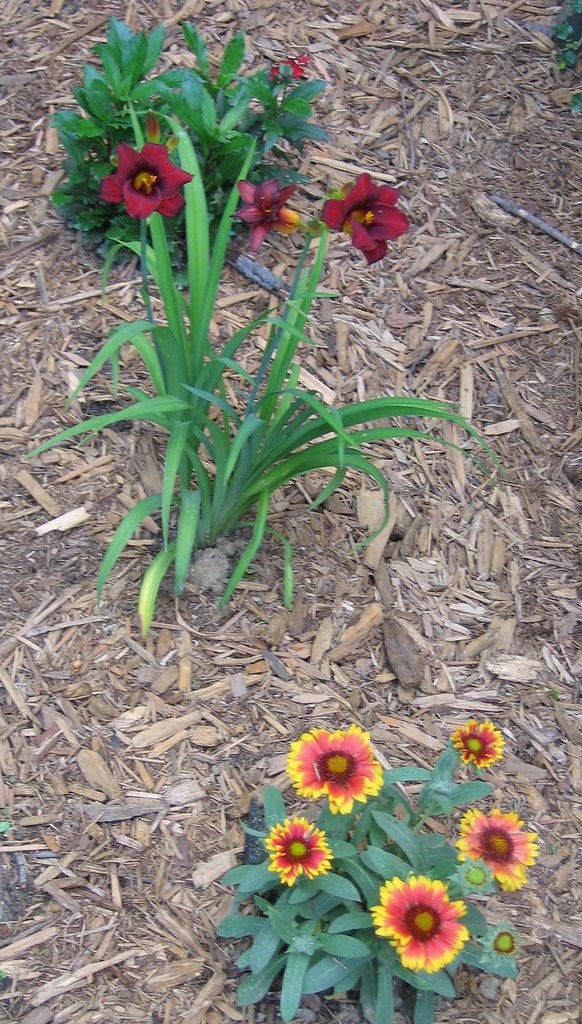
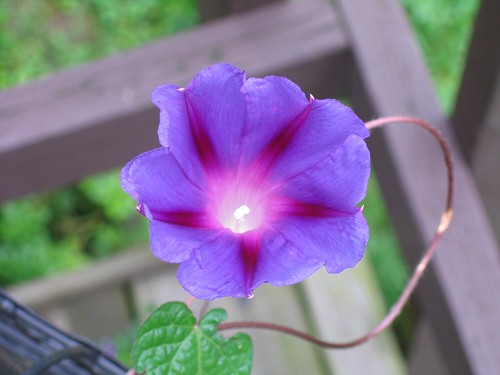
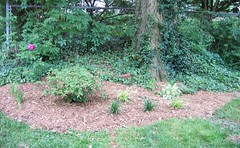
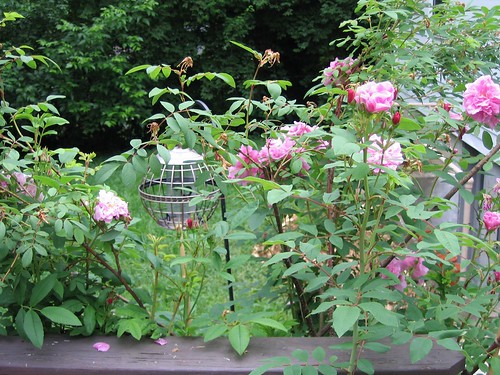
(Red bloom is Bee Balm [also known as Monarda or Bergamot] from Tim)

Mike is worried that I will run away with you to your Kentucky oasis of lady slipper orchids and limestone caves. While you and I have much in common, he has no need to worry. I am content to have you as my favorite neighbor. Thanks for everything! I’m so glad you live across the street.

Tuesday, June 21, 2005

Sunset Bed

Mrs. Greenthumbs claims that all daylilies are some shade of orange. My Stella D’Oro lilies do have a hint of orange to them. I have yet to see if the Lavender Dolls are truly lavender. My Little Joys, though, don’t seem a bit orange. They bloomed this week to reveal a lovely, deep wine color.

The Little Joys are a nice complement to the blanket flowers. I may have to rename the "back bed” the “sunset bed” because I seem to be cultivating shades of yellow, red and orange. Now I just have to wait to see what color the lilies will be. I have a feeling they will upset the color scheme with shades of pink and purple. At least I’ll have the sunset effect for a few weeks each summer, after the columbine bloom and before the lilies emerge.

Monday, June 20, 2005

Deck: Before and Soon After

When we moved in, the plantings around the deck consisted of one half dead red maple and some gangly roses. The maple is still half dead, but the roses turned out to be lovely surprises (a Terese Bugnet and a Rockin Robin). This spring, I planted ferns and spiderwort around the entire perimeter of the deck to disguise its "legs." Eight hostas will be added soon to fill the remaining bare spots. Currently, the perimeter planting is also my free tree plant nursery.

The lattice roof and its posts were begging to be covered in vines, so two trumpet vines and three clematis are slowly making their way up. I ordered both vines from Parks. The trumpet vines were sticks when I received them, but are now leafed out and taking off. The clematis (shipped in 4 inch pots) are barely holding on. I don’t recommend buying clematis in anything smaller than a gallon container. Hopefully, they’ll all make it through the winter to flower next summer and the “one year later” pictures will be eye-popping.

Unfortunately, it doesn't look as if Blogger supports javascript, so no slick roll-over pictures. Instead, you can compare before and after the old fashioned way: two photos side by side.

Looking southwest:


Looking southeast:


Looking northeast:


Of course, before and after photos are easy to make dramatic when “before” is Winter and “after” is Summer.

Tuesday, June 14, 2005

Glorious Morning

I’ve discovered why Morning Glory is named so.

The morning glory of my youth was an invasive pest with white flowers. It hardly seemed glorious and it bloomed all day long. I was puzzled by its moniker. Now that I am GardenWeb edjamacated, I know that this was actually the noxious weed, bindweed.

Garden morning glory is also a twining vine, but it comes in lovely colors and blooms, drumroll please, in the morning. Last week, I arrived home from work to find my first vine had begun blooming. Sadly the violet flower was shriveled. I was encouraged by a second bud and planned on seeing the bloom the next day. Again, I arrived home at 6 p.m. to a shriveled flower. This continued until Saturday morning, when I finally got to view my first bloom in all its glory.

Monday, June 13, 2005

Worm Lasagna

Mmmm….lasagna: a layering of newspaper, grass clippings, leaves, bark, and half-baked compost spiked with earthworms.

In my gardening fervor, I’ve created a number of new beds. Usually, I strip the grass and/or weeds with a shovel or trowel and toss them into my compost pile. Then, I may or may not add some topsoil. To plant, I dig a hole, work and amend the soil, and put the plant and dirt back in. Any excess dirt generated from the loosening of the compacted soil and addition of humus creates the bed mound.

Lasagna gardening is the lazy way to make new beds. Not only does it kill the grass, but it adds organic material and nutrients to the soil. The layers (newspaper especially) attract worms who further improve the soil. The only drawback to lasagna gardening is the wait. It takes about a year for the layers to decompose. The beds I create this summer and fall will not be planted until next year. In my case, the wait is a good thing because I am NOT SUPPOSED TO BUY ANY MORE PLANTS THIS YEAR! (I am failing miserably.)

This is my first lasagna bed, creatively named the half-moon bed, for its semi-circular shape. It started with the lilac that, due to an underground clay pipe, could not be planted in the back bed. (Actually, I found another pipe in this bed, but said “screw it” and just planted the darn lilac over it. I believe the pipes are part of an illegal drainage system that doesn’t work anyway. Remember my rant about the soggy, lumpy back yard?) After mound-planting the lilac, I began layering lasagna materials to bring the rest of the bed level with the lilac’s base. It is level now, but I will need to add a bit more material to compensate for future decomposition.

The lasagna bed process is incredibly ugly. Hence, I will only be creating them in the back yard. I have heard of people covering the final lasagna layer with purty staw to make the mess presentable to the neighbors. I may consider that for future beds in the front yard.

*Can you spot the kitty (Mr. Tibbs) in the photos?

Friday, June 10, 2005

Hello, Stella!


Hooray, my Stella D’Oro daylily (from freecycle) began blooming this week. I’m currently ripping all of the mint out of this (the garage) bed. In the meantime, potted plants, like the catnip in the foreground, fill the empty spaces. The plant on the right is a forget-me-not. It bloomed for many weeks in the spring. The plant to the left is a mystery until it flowers.

Thursday, June 09, 2005

The Back Bed

I am beginning to plant/create so many flower beds that I have to name them to keep my records straight. The bed along the back of the house, between the corner and the basement stairs, outside of the India room, is imaginatively named “the back bed.”

The back bed was actually “the weed bed” until a few weeks ago. The concrete barrier between the bed and the lawn is severely eroded. The lawn and its accompanying weeds (henbit, violet, dandelion) crept into and took over the space. Mike routinely mowed it with the rest of the back lawn. To reclaim the bed, I ripped each plant out by hand and removed a honeysuckle tree at the gate end.

Like most of my beds, I planted it without a plan. At first, I intended to seat my lovely Miss Kim lilac at the corner, but after digging a bit, I discovered a clay pipe only 6 inches below the ground. I believe the pipe links the gutter downspout to the sewer. Miss Kim went elsewhere and, instead, I dug a fern from the side yard that was in danger of being mowed and transplanted it.

Next, I found a very healthy looking Asao clematis at Lowe’s and plopped it next to the railing. When it was time to plant my winter-sown columbine seedlings, I discovered that I had about 50. Fifteen went in the, also creatively named, “left front bed” and the remainder went in each end of the back bed. They will not bloom until next year.

On an impulse, I bought “100 Days of Lilies” (25 lily bulbs in a bag) at Walmart. I dug a long trough along the back of the bed and planted them there. Finally, I found sun-loving perennials on sale at Home Depot this week ($3.33 each!). I planted 2 Blanket Flower, 2 Littly Joy Daylily, and 2 Scarlet Lobelia. That’s it; the bed is full.

Because I bought them in bloom, the Blanket Flower has given me instant satisfaction. The Lobelia and Daylily are about to flower. Twelve of the twenty-five lilies have emerged from the soil. I am pulling for the other thirteen. The 35 columbine should put on quite a show next spring. And I can’t wait for the ugly railing to be covered by the clematis.

(If you click on the first photo, you will be brought to a page were the plants are labeled. The six plants in the front are in repeating groups of three.)


Wednesday, June 01, 2005

Hackberry Tree Bed

My Sunday project was creating a bed around our large hackberry tree. I didn't take a "before" picture, so I'll have to describe it. The POs had planted a rugosa rose along the fenceline and an azalea near the base of the tree. The ground cover consisted of spotty grass, henbit, and violets. I added two hostas earlier this year - one variegated and one dark green. It is a difficult spot to mow, so the weeds and grass tended to get very tall and obscure the fuchsia blooms of the rose and azalea. The area had potential but looked messy.

The space gets about 4 hours of morning sun. It is a narrow area, bordered by the sidewalk, driveway, and a fence. To the northwest (right in the photo), the side lawn continues to the end of the property.

I used a rope to mark off the edges of the bed. Because the sod was so patchy, I mostly used a trowel to dig the grass up. Then I added 160 lbs of topsoil to fill in low spots. (One hundred sixty pounds sounds like a lot, but it is only 4 small bags.) I planted 4 lily turf (2 variegated, 2 not) and 2 Lavender Doll daylillies. I topped the bed with mulch and gave the new plants a good soaking. It's no masterpiece, and there is room for more plants, but it looks much neater. (Click on the image to see a larger version, with the plants labeled.)