35 Dollar Garden Arch
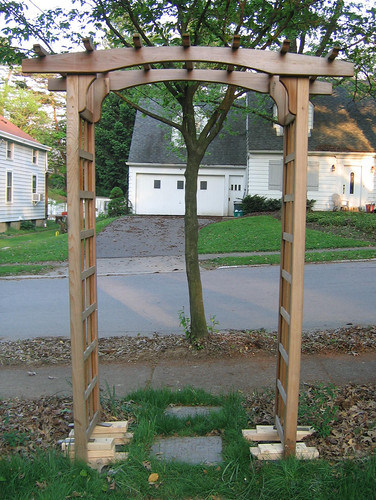
Gardening can be an expensive hobby. I try to save money by growing plants from seeds, swapping for others, and mulching with my neighbors’ leaves. I find it difficult to scrimp on hardscape, though. I am not talented enough to created my own wrought-iron obelisks or cast a bird bath. Those items usually end up costing me beaucoup de bucks. Sometimes, though, I get lucky. Like this $35 garden arch from Big Lots!
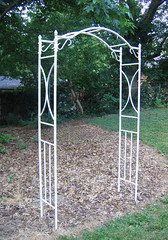
You may be wondering, “How good is a $35 arch from Big Lots?” My reply, “Surprisingly good.”
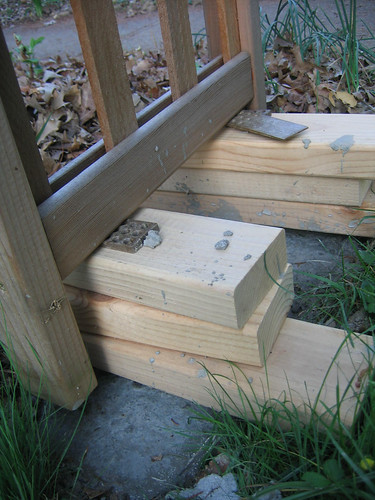
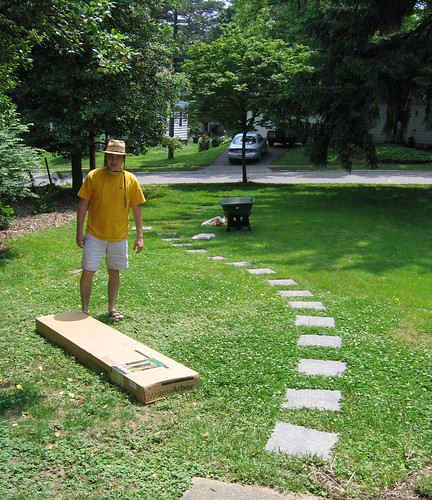
Honestly, I think the most garden arches are way overpriced. This cheapo arch is as good as anything I found for less than $150. It was easy to construct, and turned out to be almost square. The construction reminded me of the metal tube headboards often seen on a child’s bed. It is fairly lightweight, so I’ll need to anchor it in the ground, but I think it would support something as heavy as a climbing rose. Wisteria would probably crush the hollow tubes. I plan on planting it with clematis, so as to not hide the pretty structure.
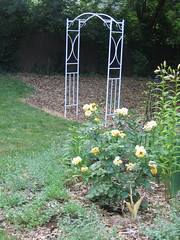
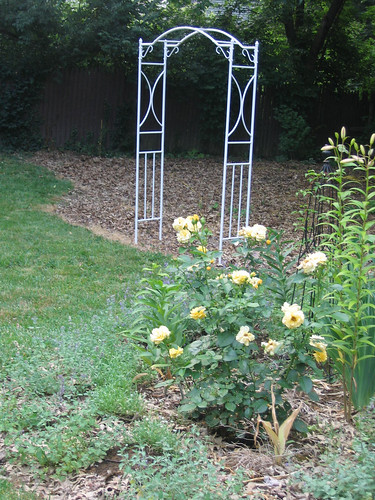
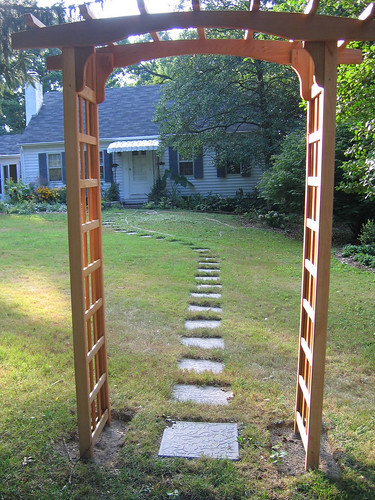
 The arch is the doorway to the north corner (which is coming along quite nicely!) This fall, I’ll be planting a hedge around the area’s perimeter so that the arch frames the entrance to the shade garden. (I’m still debating whether to allow for a second, semi-secret entrance.) You can view the tentative plan here.
So, pretty good for $35, huh?
P.S. Sorry for the blogging break. I was traveling.

You may be wondering, “How good is a $35 arch from Big Lots?” My reply, “Surprisingly good.”
Honestly, I think the most garden arches are way overpriced. This cheapo arch is as good as anything I found for less than $150. It was easy to construct, and turned out to be almost square. The construction reminded me of the metal tube headboards often seen on a child’s bed. It is fairly lightweight, so I’ll need to anchor it in the ground, but I think it would support something as heavy as a climbing rose. Wisteria would probably crush the hollow tubes. I plan on planting it with clematis, so as to not hide the pretty structure.
 The arch is the doorway to the north corner (which is coming along quite nicely!) This fall, I’ll be planting a hedge around the area’s perimeter so that the arch frames the entrance to the shade garden. (I’m still debating whether to allow for a second, semi-secret entrance.) You can view the tentative plan here.
So, pretty good for $35, huh?
P.S. Sorry for the blogging break. I was traveling.
Labels: arbor, north corner
posted by Kasmira at 18.6.07
7 comments
![]()

